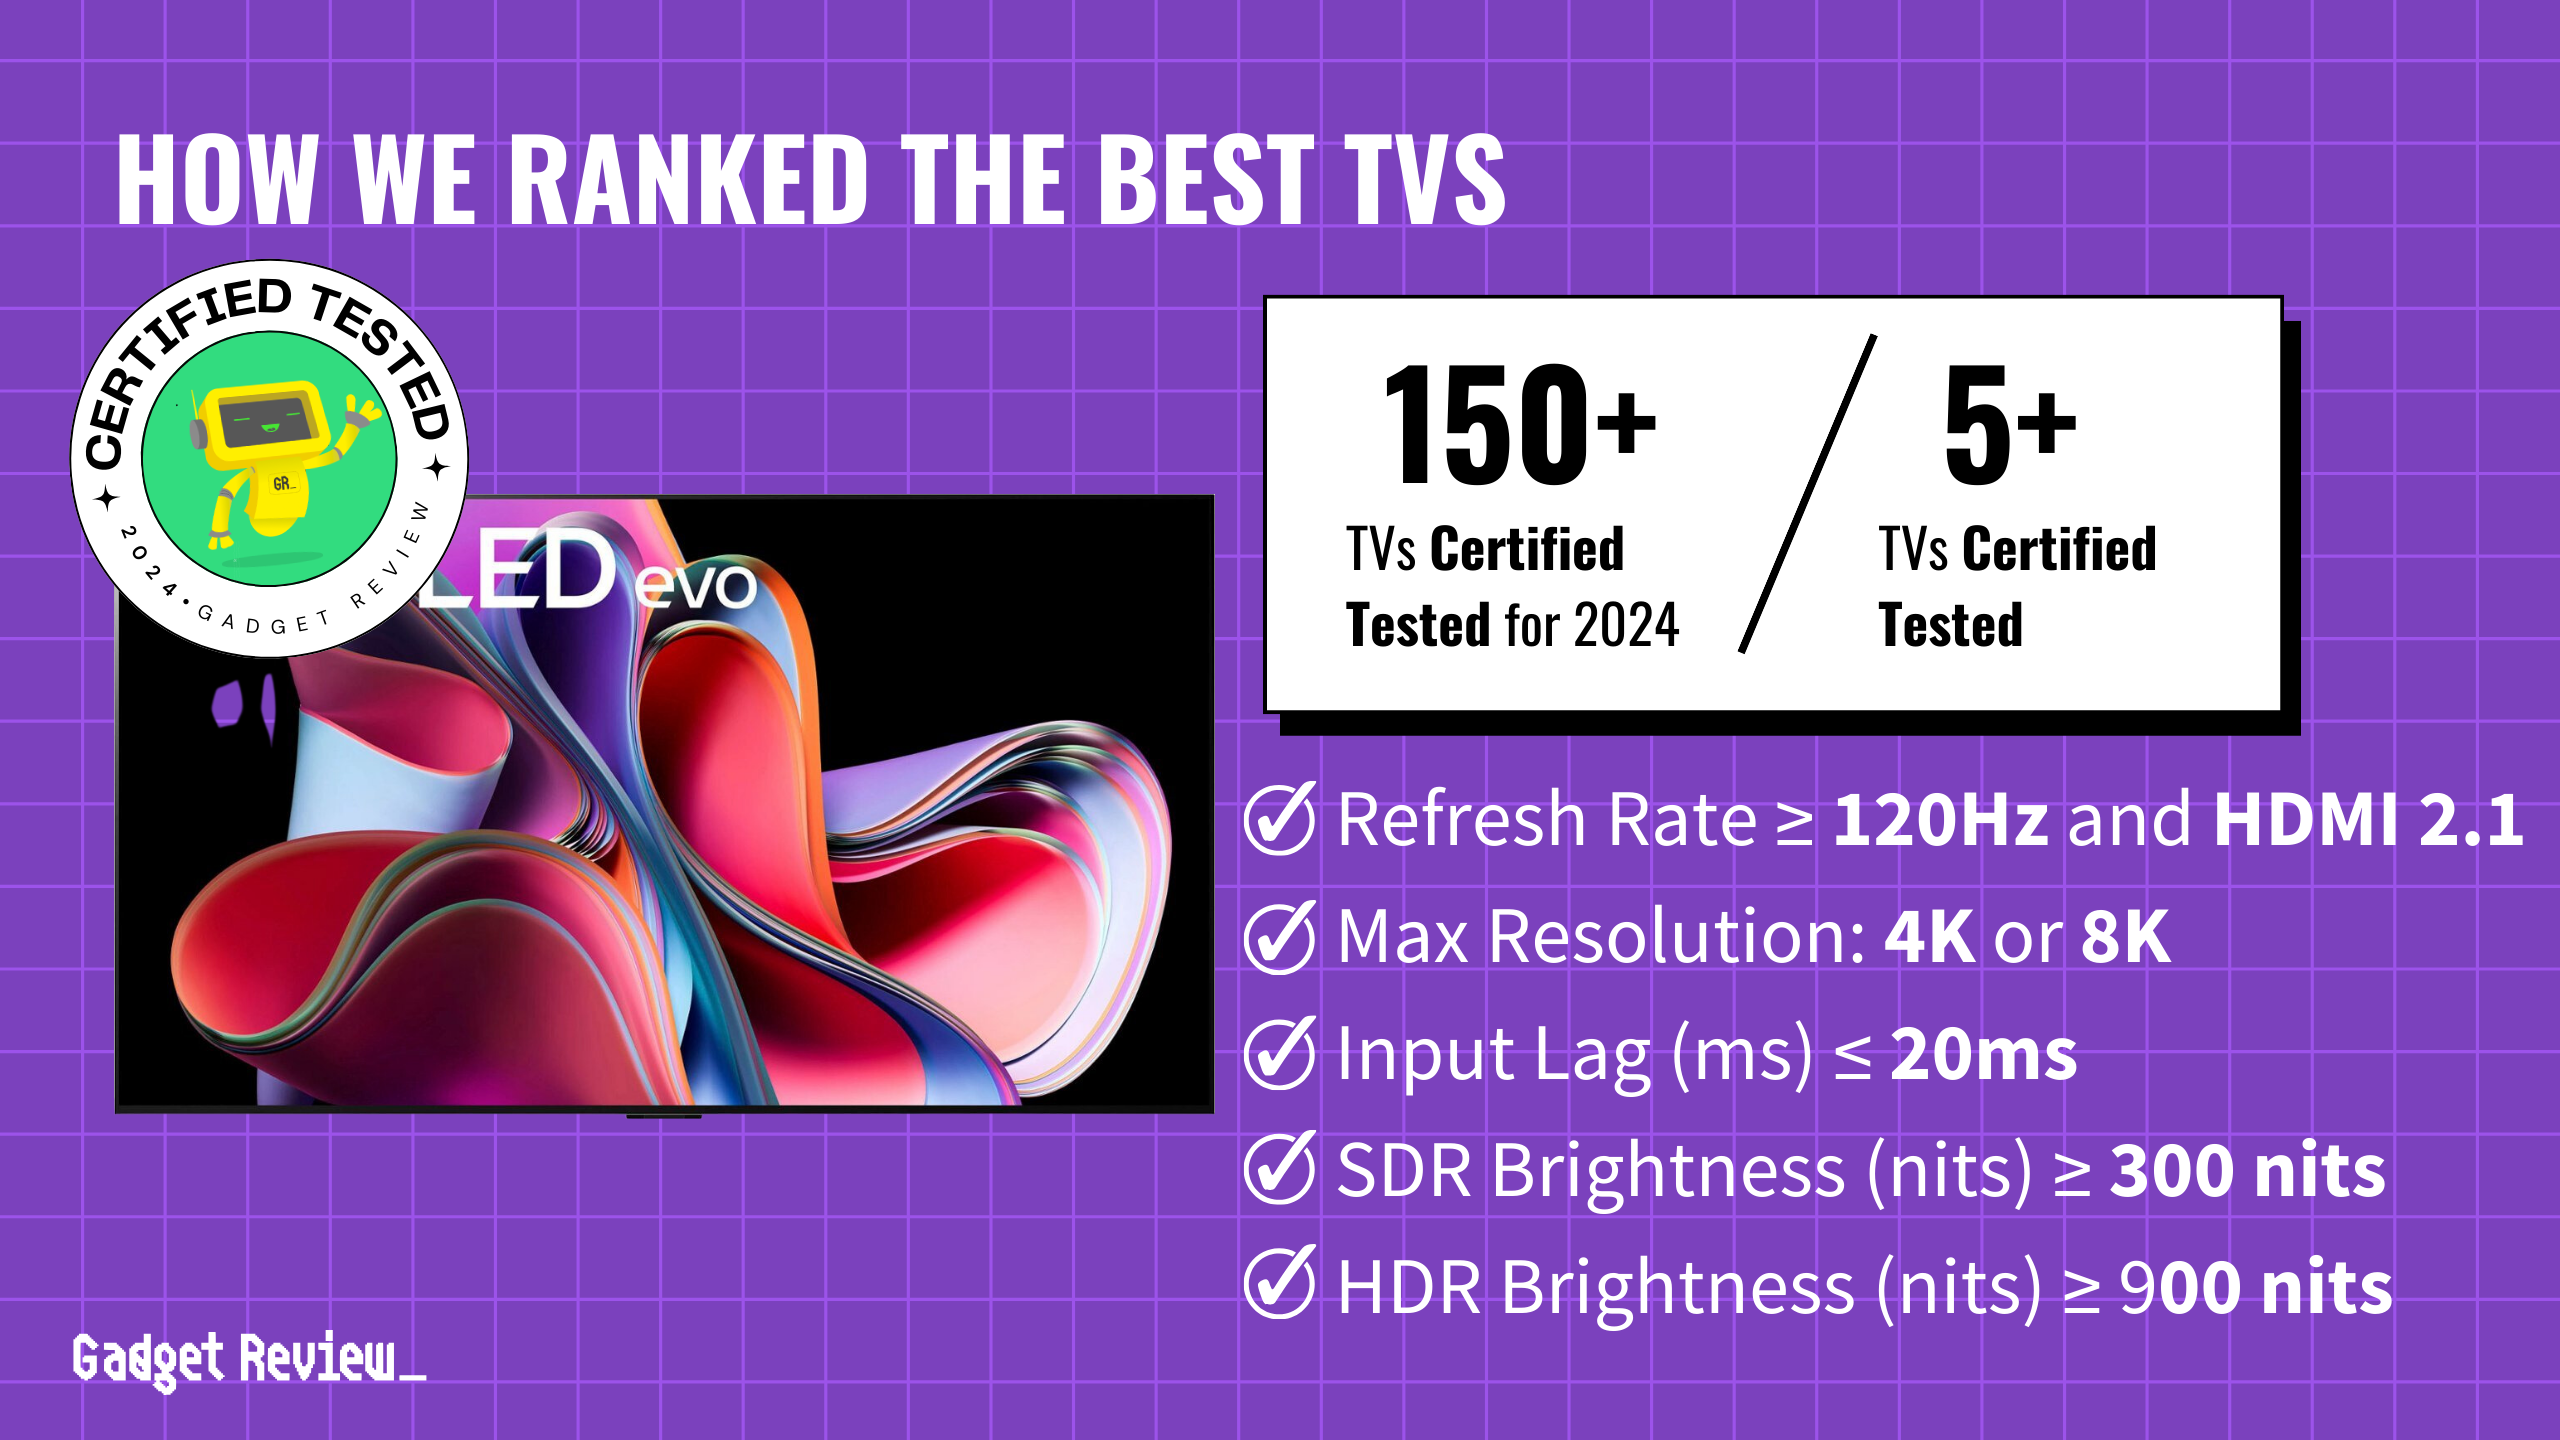
With so many smart TVs available today, connecting your TV to Wi-Fi is as simple as selecting your network and entering your password during setup. However, if you have an older TV, you aren’t out of luck either; keep reading to learn more.
The number of smart TVs in use is increasing every year. As a result, more and more Americans are asking how to connect a top-rated TV to WiFi. To answer, you will need to determine if you have a smart TV or a more traditional set.
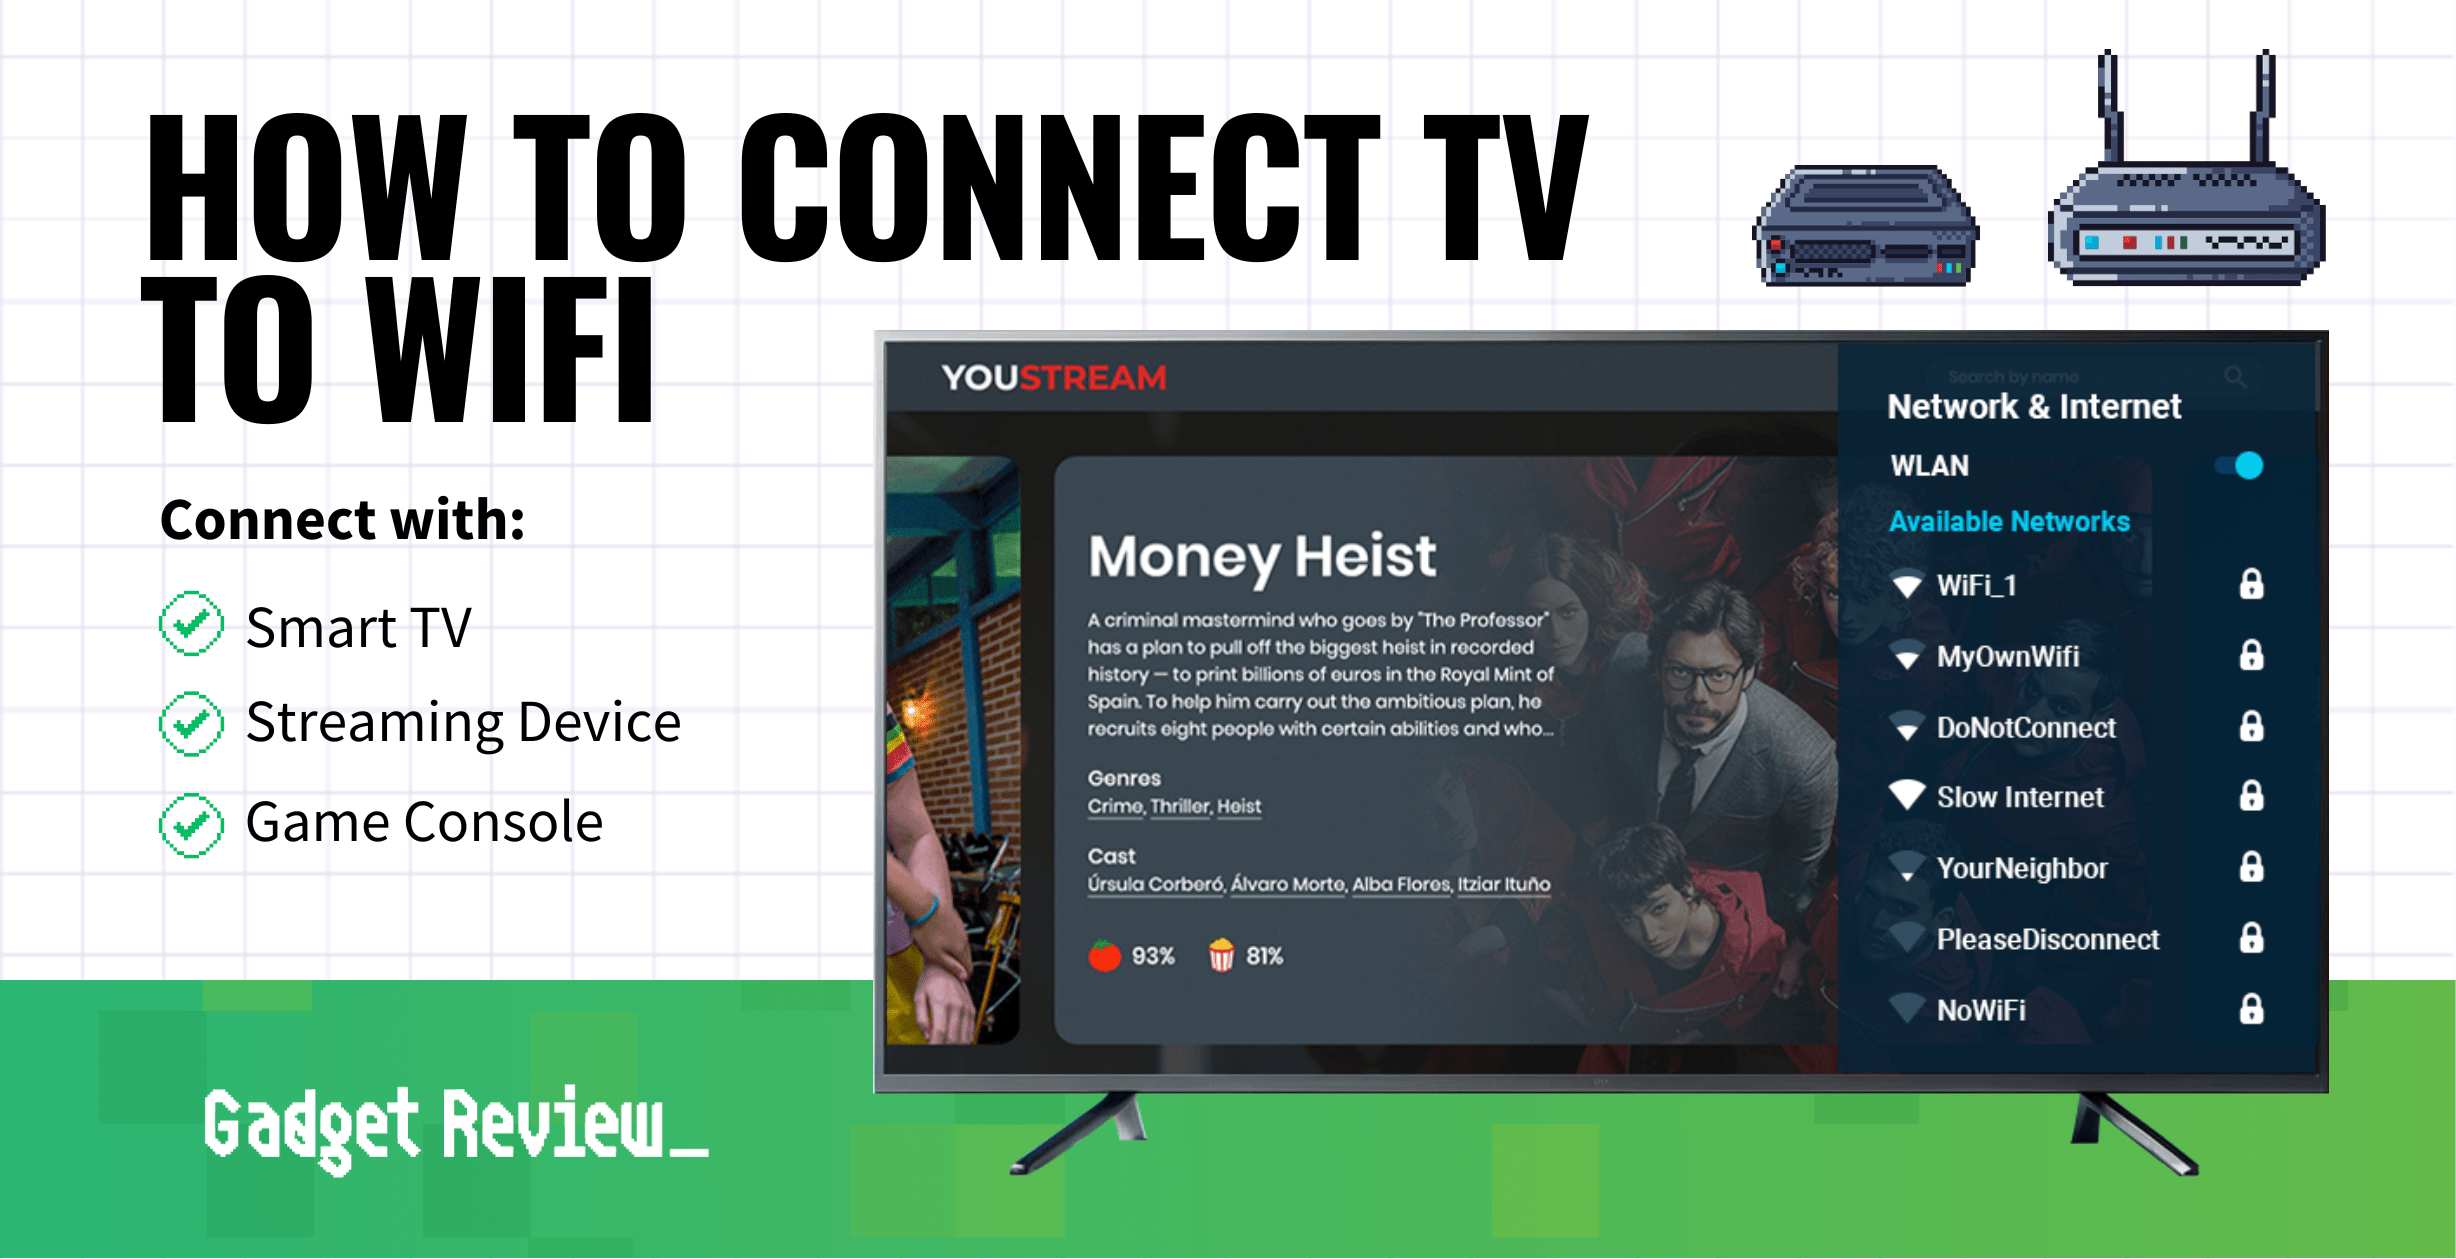
Connecting a Smart TV to the Internet
Smart TVs are built to connect to the internet independently, without the need for an additional device.
All you need is your wireless connection, network password, and a wireless router. Once the wireless network is configured, your Smart TV should be able to automatically detect it and establish a connection.
Connecting Your TV During Set-Up
STEP 1 Setup your TV
- Make sure your TV is on. Unfortunately, consumers sometimes forget to plug in their devices, leading to confusion about why they aren’t working correctly. Once it is plugged in, you can turn it on.
- Continue through the set-up menu. Next, you will likely need to select a language and possibly a region. After this, the TV may ask you to choose your time zone. If you choose the wrong time zone, you may not be able to connect to the internet.
STEP 2 Connect to your network
- Select your WiFi network. Eventually, you will reach the network connectivity step if you do not have an ethernet cord plugged in. Normally, this is one of the first steps because it is necessary to log into your services and your connected email account.
- If prompted, type in your password using the remote.
STEP 3 Perform any updates
- Once connected, update the firmware or any software that needs it to ensure everything runs smoothly.
Once you finish setting up, you should be able to explore your new TV.
Now that everything is good to go, you can connect even more devices to your TV if you want to, like your phone. Be sure to learn how to connect your phone to the TV.
Connecting Your TV Using Streaming Device
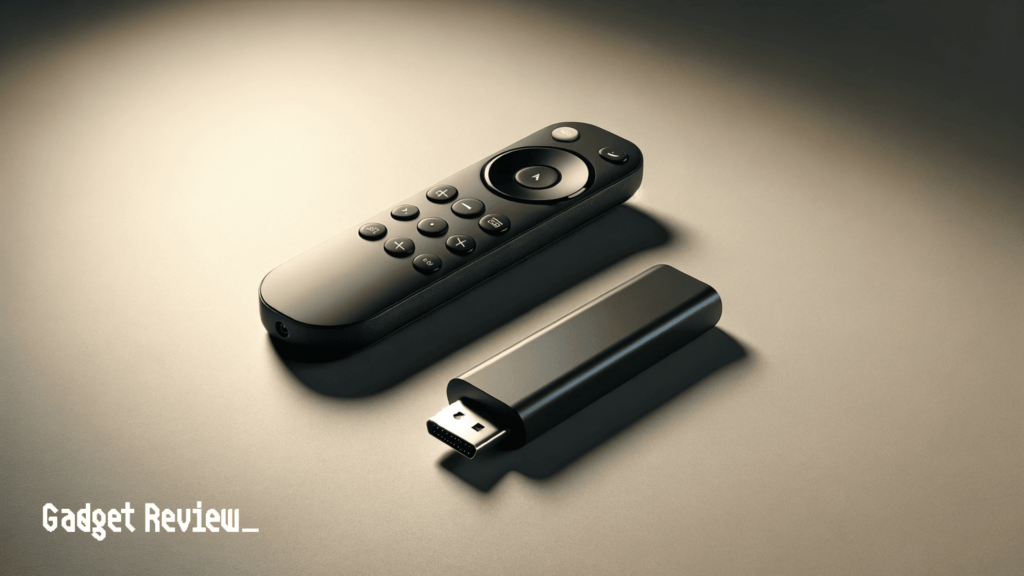
If you do not have a smart TV, you can still connect your TV to Wi-Fi by using a streaming device like Roku, Amazon Fire Stick, Google Chromecast, or Apple TV.
While you have your TV pulled out to plug in the ethernet cable, it would be a good idea to make sure all your connections are tight so that you don’t get a loose connection issue.
This will also work with gaming consoles like the PS5 and Xbox Series consoles.
STEP 1 Connect the device
- Plug the streaming/gaming device into one of your TV’s HDMI ports.
- Switch your TV’s input source to the HDMI port of the connected device.
STEP 2 Set up the device
- Turn on the streaming device or game console.
- Follow the on-screen guide to set up the device. Much like setting up your smart TV, the device will ask to connect to your network as part of the initial setup.
STEP 3 Perform any updates
- Once connected, update the firmware or any software that needs it to ensure everything runs smoothly.
STEP 4 Connect to your services
- Sign into any streaming services you have and enjoy your Wi-Fi-connected TV.
It should also be noted that you can connect your TV to the internet with an ethernet cable as well, given that your TV comes with an ethernet jack. This way isn’t as convenient as Wi-Fi but allows you internet access.
Connecting Your TV Using an Ethernet Cable
STEP 1 Connect the ethernet cable
- Gather your materials. You will need your router, an ethernet cable, and your smart TV.
- Plug the ethernet cable into one of the ethernet ports on your router. There are typically a couple of these ports on connected devices.
- Plug the other end of the cable into the TV. You may find that your TV has an ethernet port in the back, allowing you to connect the ethernet cord.
STEP 2 Connect to the internet
- Use your remote to navigate the Settings.
- Look for an option that says “Network Settings” or something similar.
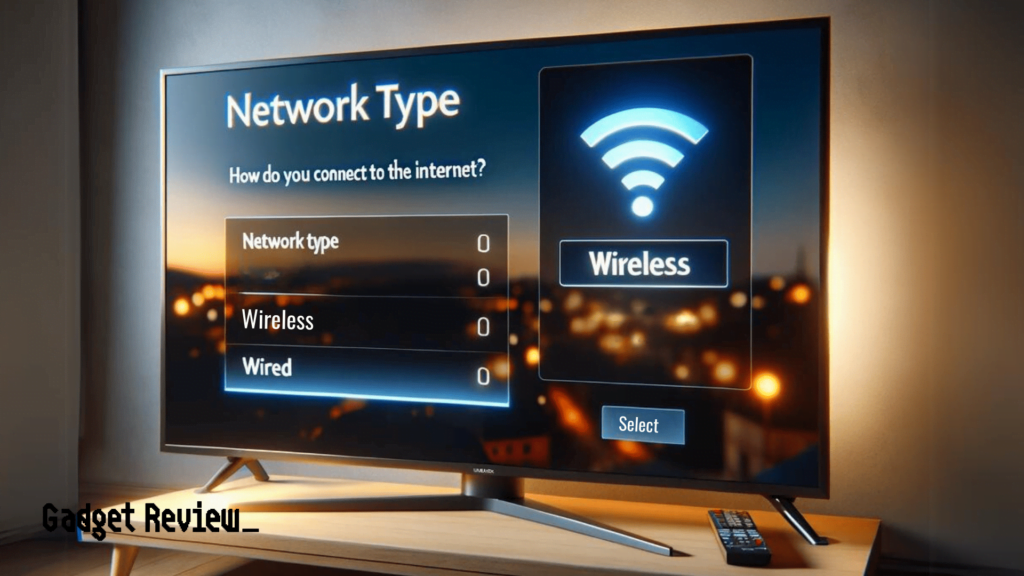
- Select wired connection under network type. This option allows you to connect directly to the network and does not require a password because it’s a physical connection.
STEP 3 Perform any updates
- Once connected, update the firmware or any software that needs it to ensure everything runs smoothly.
Suppose the sound from your TV isn’t to your liking. You can connect a soundbar to your TV.
STAT: The connected TV penetration rate in the United States rose to an all-time high in 2021, with 82 percent of American households owning at least one internet-connected TV device. (source)
If available, you should first use your streaming device to access the audio setup or audio output menu, then follow the provided screen instructions to configure the settings. Once you have configured the settings and connected any desired speakers, you can finalize the configuration using the TV’s menu options.
You may also want to familiarize yourself with how to calibrate a TV to ensure your picture is the best it can possibly be. And if you happen to notice black bars on your TV while watching your favorite movies, it could be an aspect ratio issue.