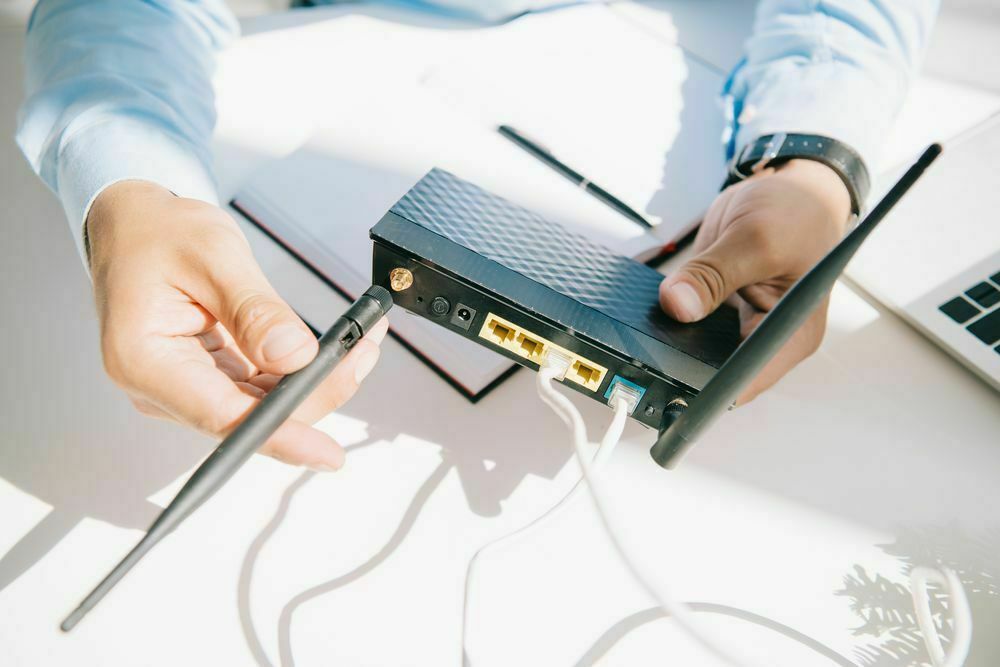
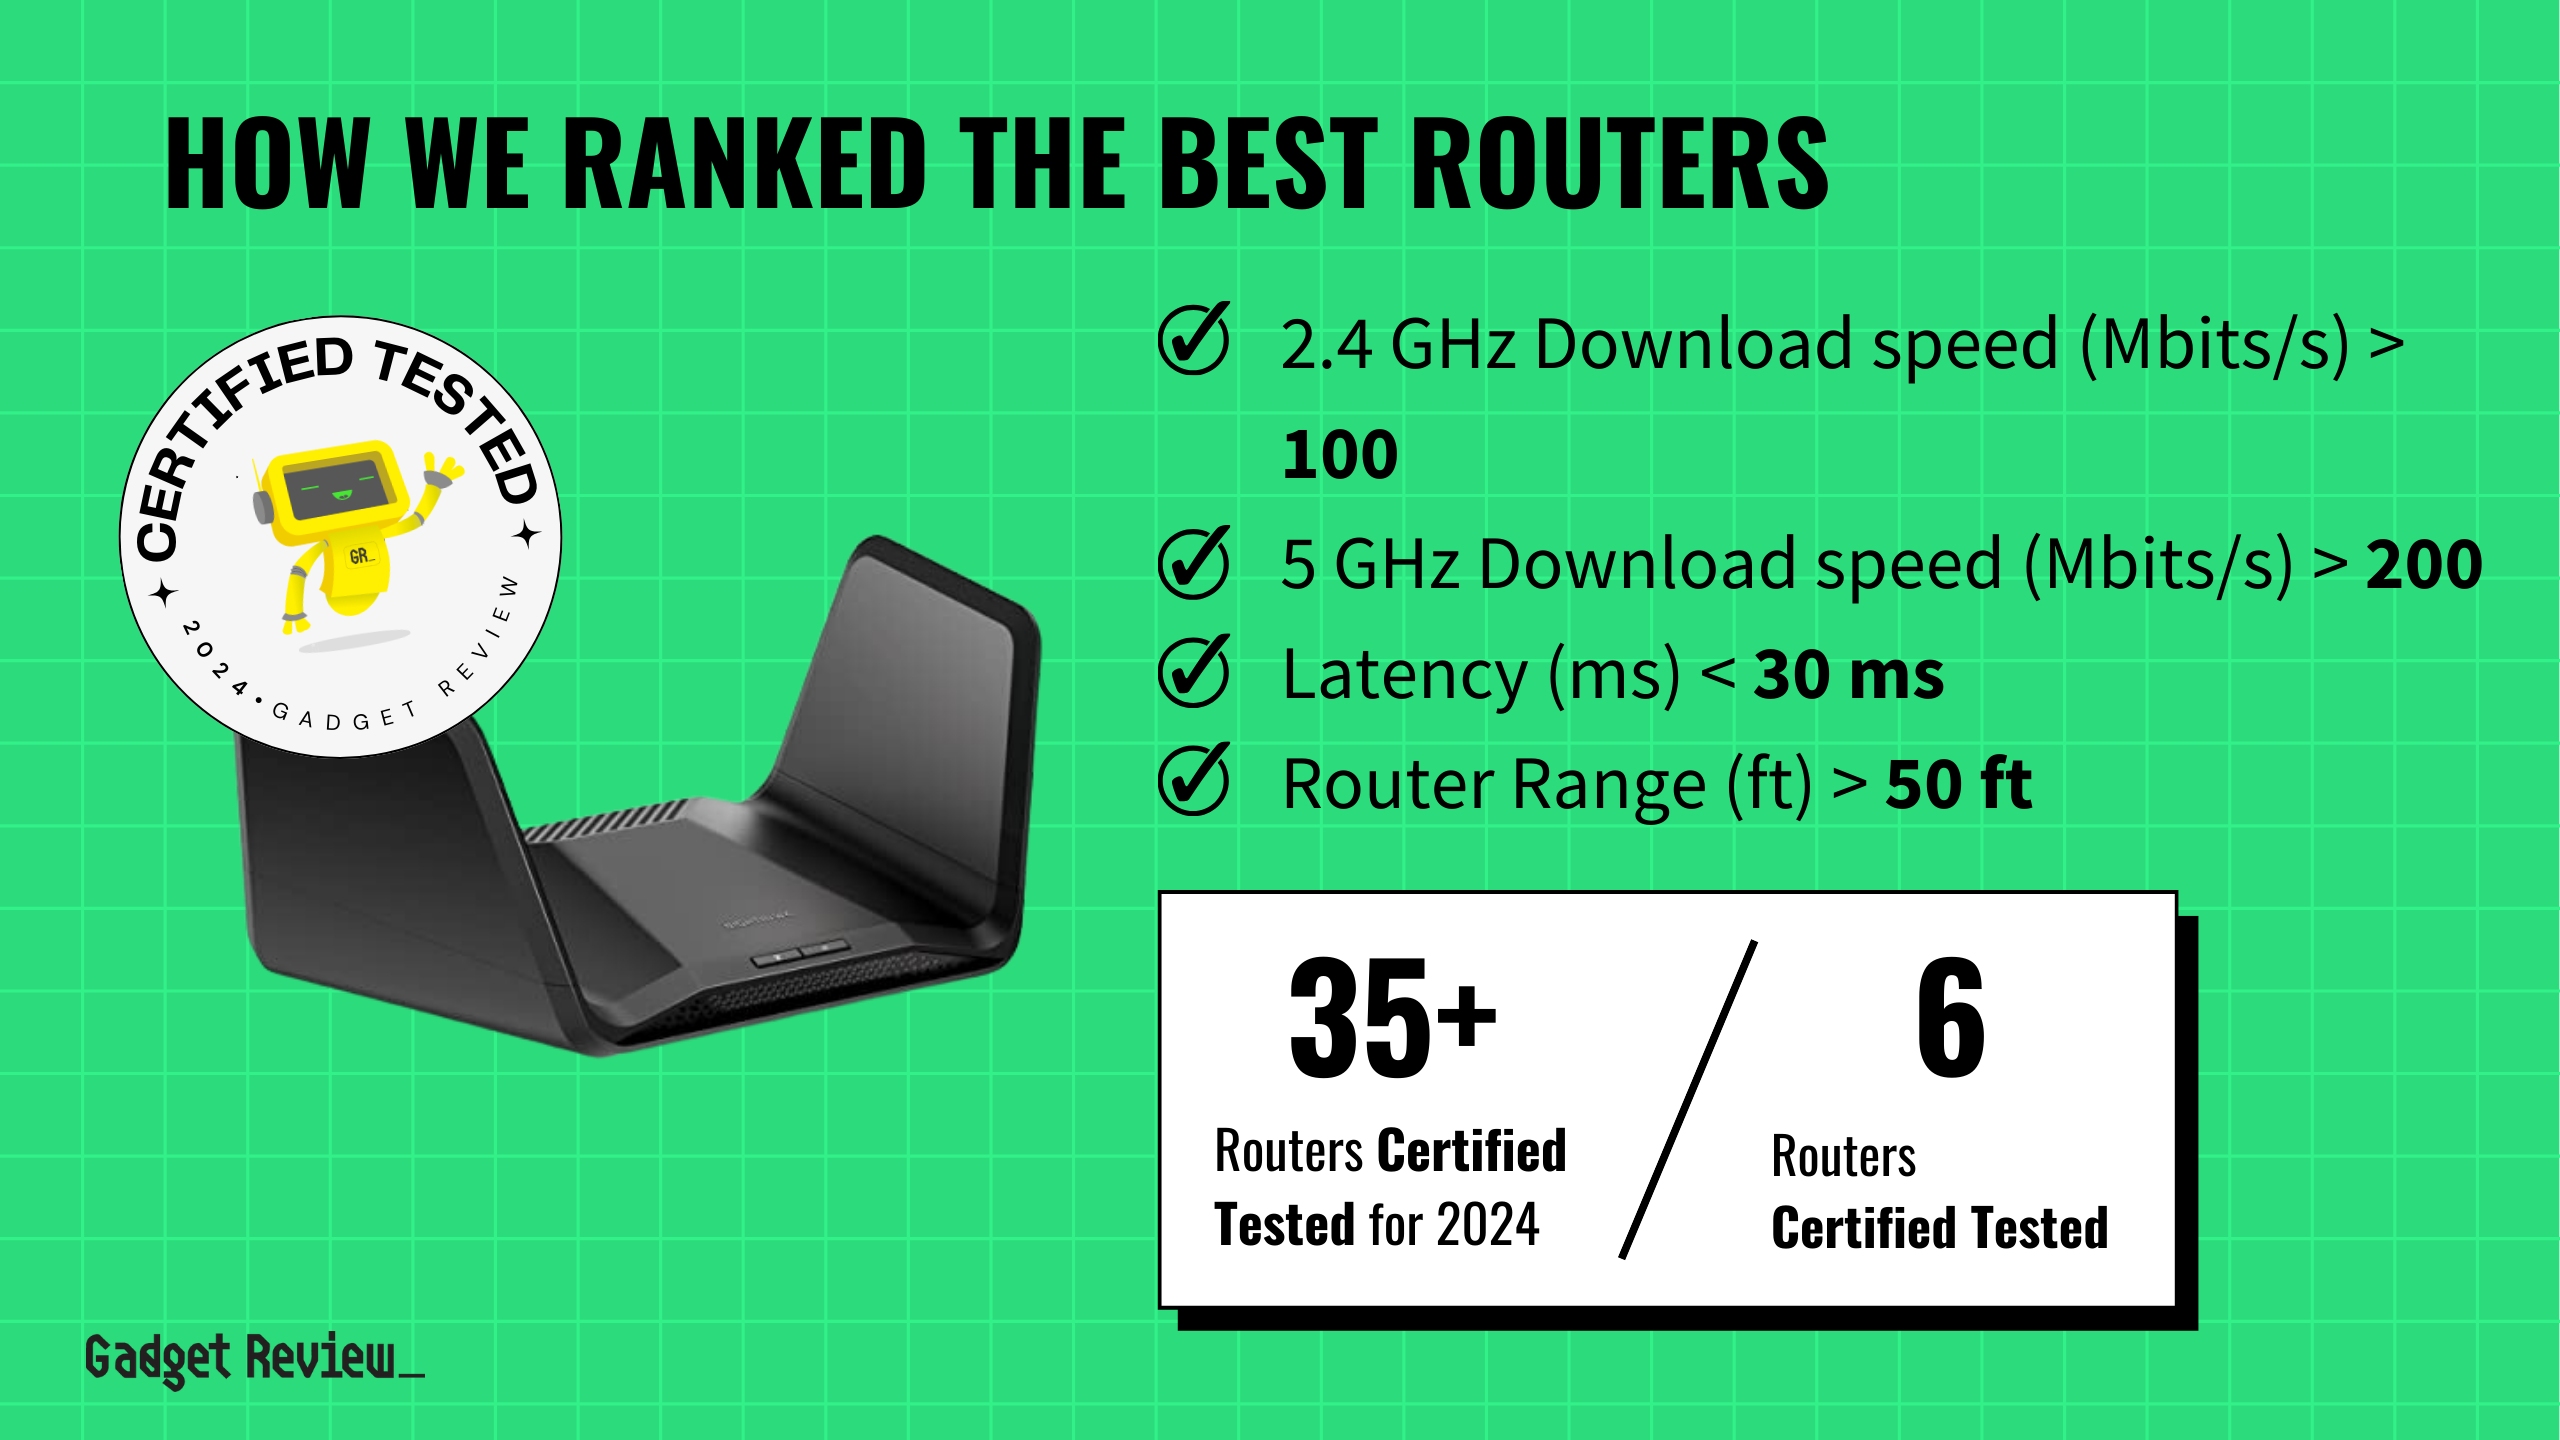
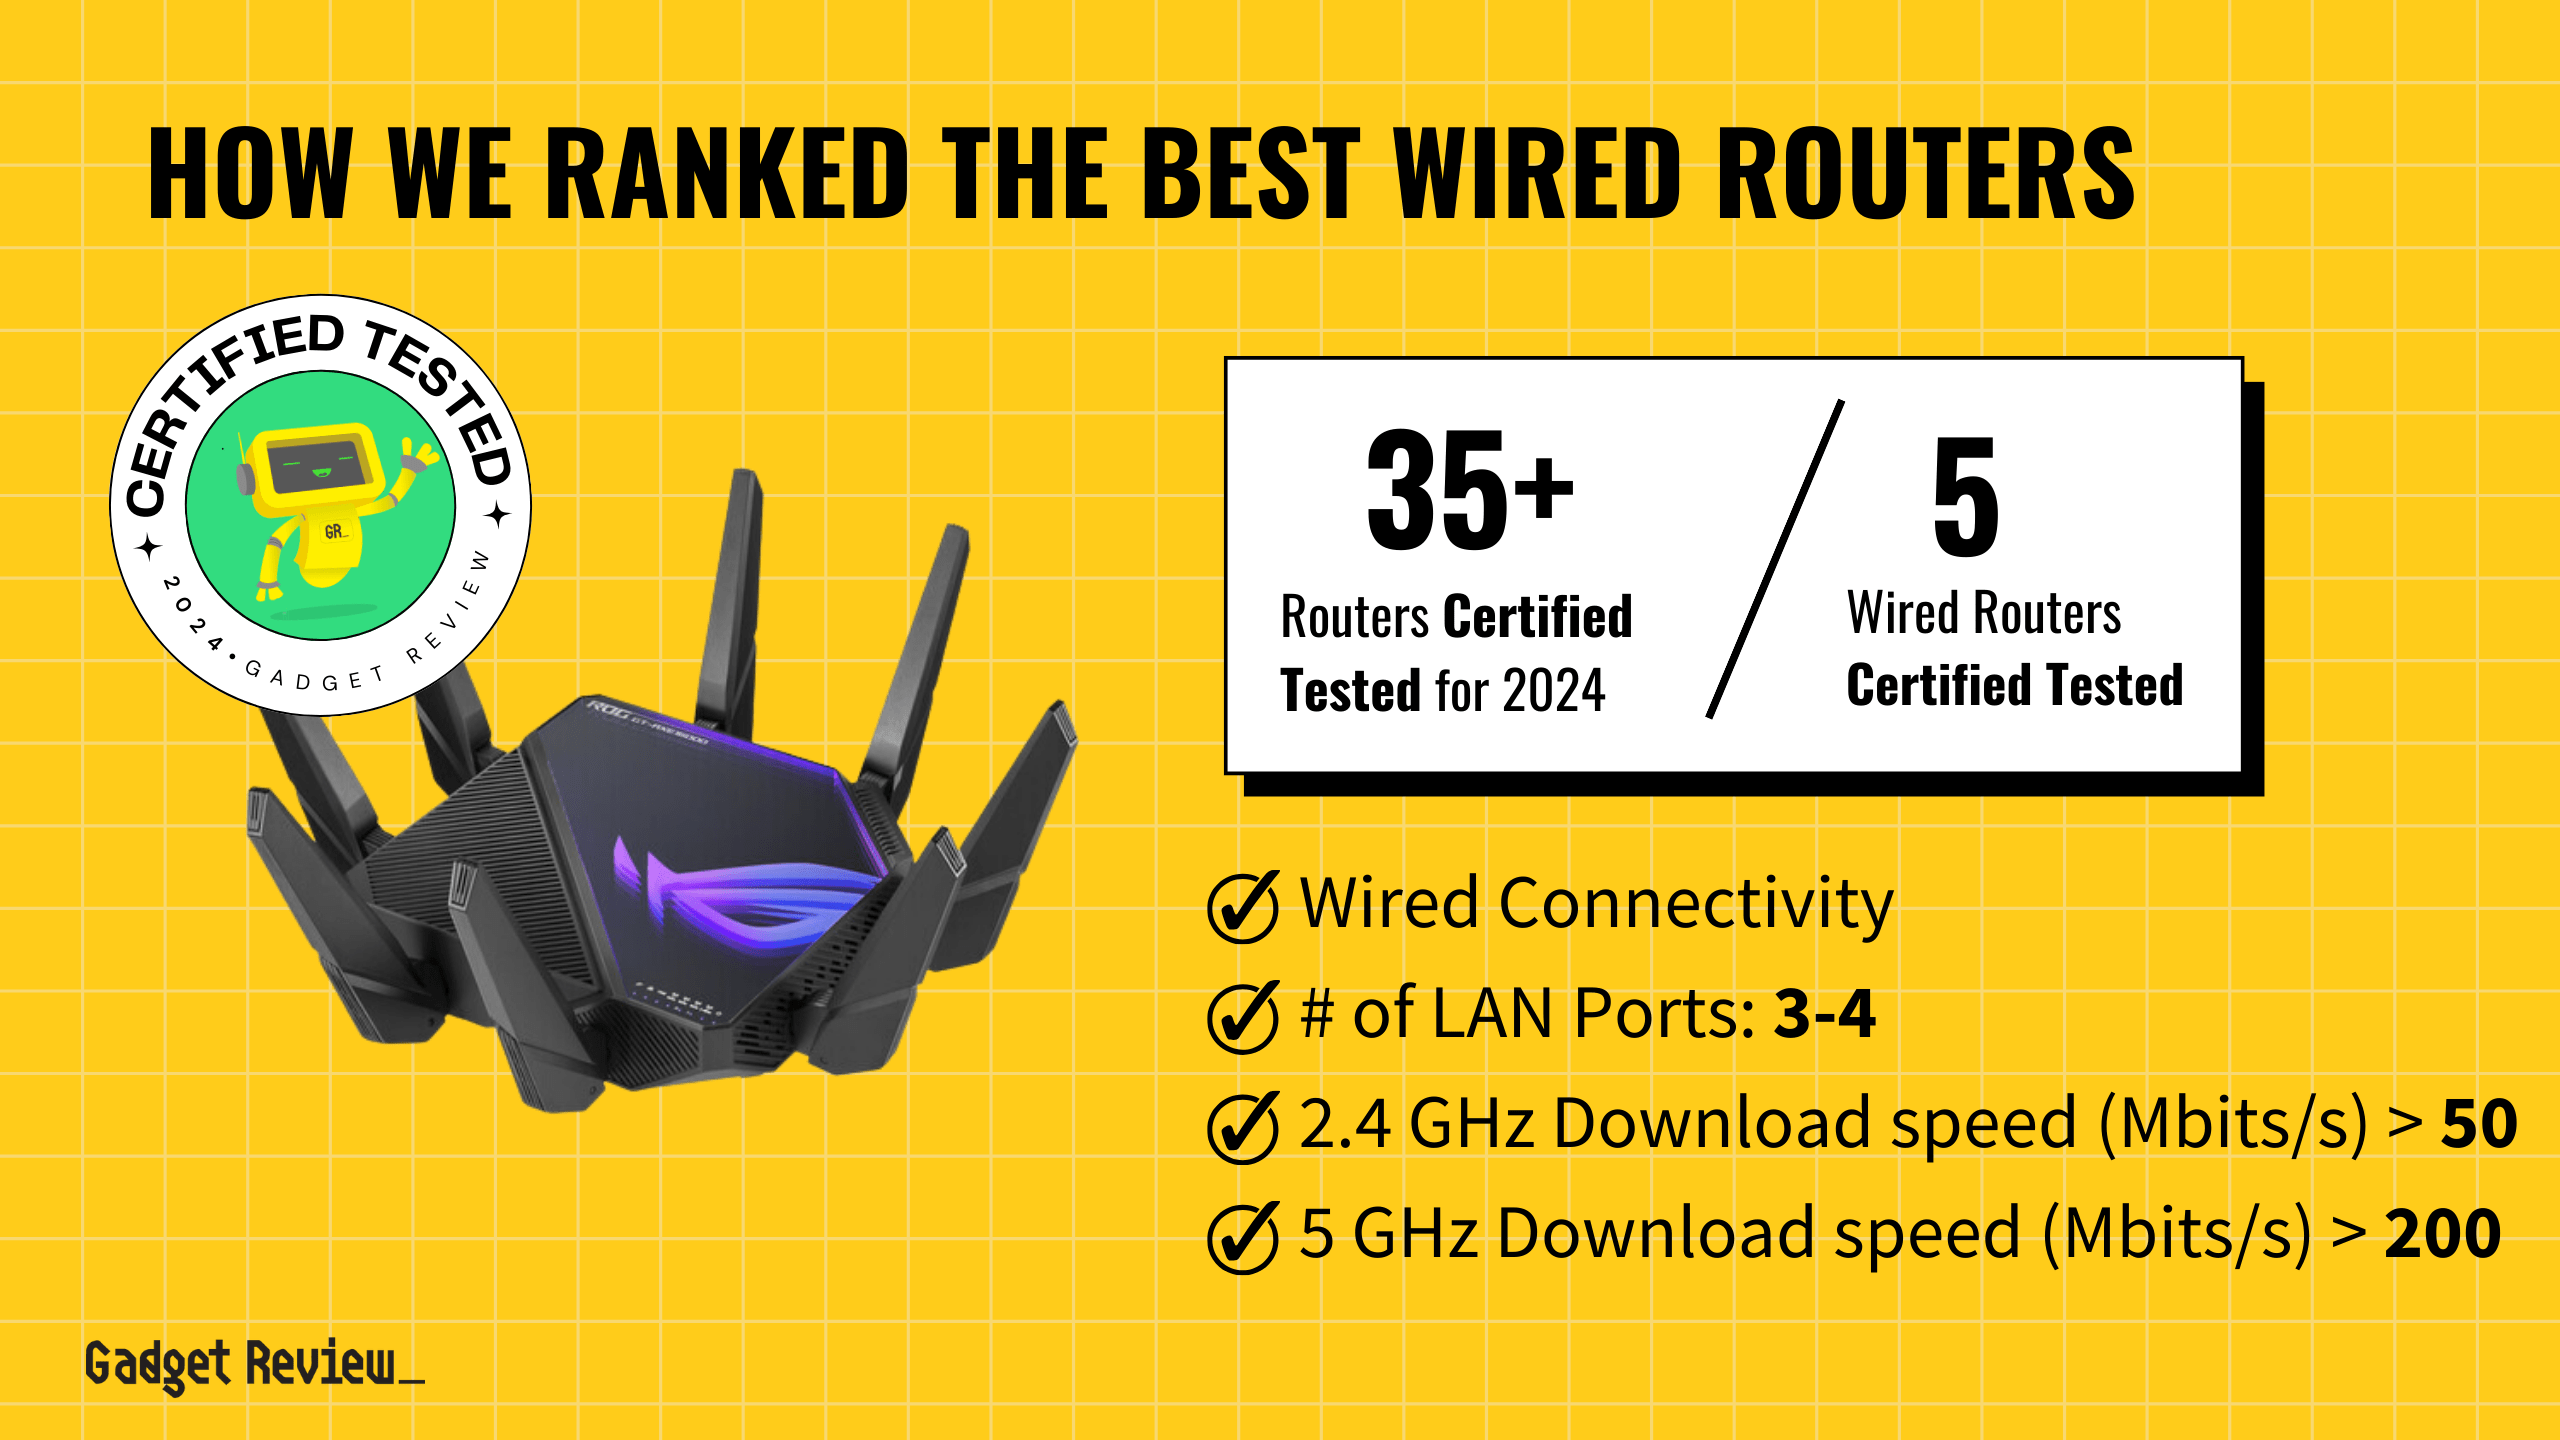
If you have been experimenting with your wireless network, you may wonder how to clear a cache from a router. The best routers need a good cache clearing every once in a while, especially if they’re used consistently by multiple devices at once. Thankfully, clearing the cache only requires navigating your router settings. Keep reading to find out how to do this.
Key Takeaways_
- You should regularly reset or clear a router’s cache to avoid interruptions in the Internet connection.
- Each router has a cache reset button, typically located on the rear of the unit.
- This process differs from resetting a browser cache or a DNS cache, which involves an address bar, command prompt, and IP addresses.
What is Router Cache and Why Clear It?
A router’s cache is somewhat different from a computer or web browser’s cache, so there will be no need for an IP address, DNS resolver cache, or related cache entries. A WiFi router has a cache that is dedicated to storing network information and instructions.
STAT: Cache is online data that is temporarily stored in the computer and is designed to speed up certain activities such as web browsing by prioritizing its contents for quick access. (source)
If an error gets stored in this cache, it leads to router malfunctions and dropped Internet connections, particularly if you have learned how to use a router as a WiFi extender. Clearing out the cache avoids this issue. It won’t work if you just reset your router, you must clear the cache. You can follow these same steps with reliable modem routers, especially if they’re giving you trouble.
insider tip
If you need to reset your browser cache and not your router cache, you can typically do so via the settings page of your web browser.
For more helpful guides, you’ll want to read our other topic discussing how to disable AP isolation on a router.
How to Clear a Router’s Cache
The process here will not be totally dissimilar to learning how to check data usage on a WiFi router.
STEP 1 Access Your Router Settings
- Open your web browser on a device connected to your network.
- Type your router’s IP address in the address bar.
- This is often 192.168.0.1, 192.168.1.1, or a similar variation. If you’re unsure, check your router’s manual or the label on the router itself.
- Log in with your username and password.
- If you haven’t changed these from the default settings, they might be something like ‘admin‘ and ‘password‘, or ‘admin‘ and ‘admin‘.
STEP 2 Locate the Relevant Settings
- Once logged in, look for a section like System Tools, Advanced, Maintenance, or Administration.
- Within one of those sections, there should be options such as Reboot, Restart, Clear Cache, or Flush DNS.
STEP 3 Perform the Cache Clearing
- Select Clear Cache or Flush DNS, and confirm the action.
- If there isn’t one of those options, a router reboot often achieves the same result.
- Look for a Reboot or Restart option and confirm the action.
STEP 4 Wait for the Router
- The router will generally take a few minutes to clear the cache and restart.
- Your network will be temporarily down during this time.
STEP 5 Reconnect Devices
- Your devices should automatically reconnect when the router is back online.
- If they don’t, you may need to reconnect them manually.


